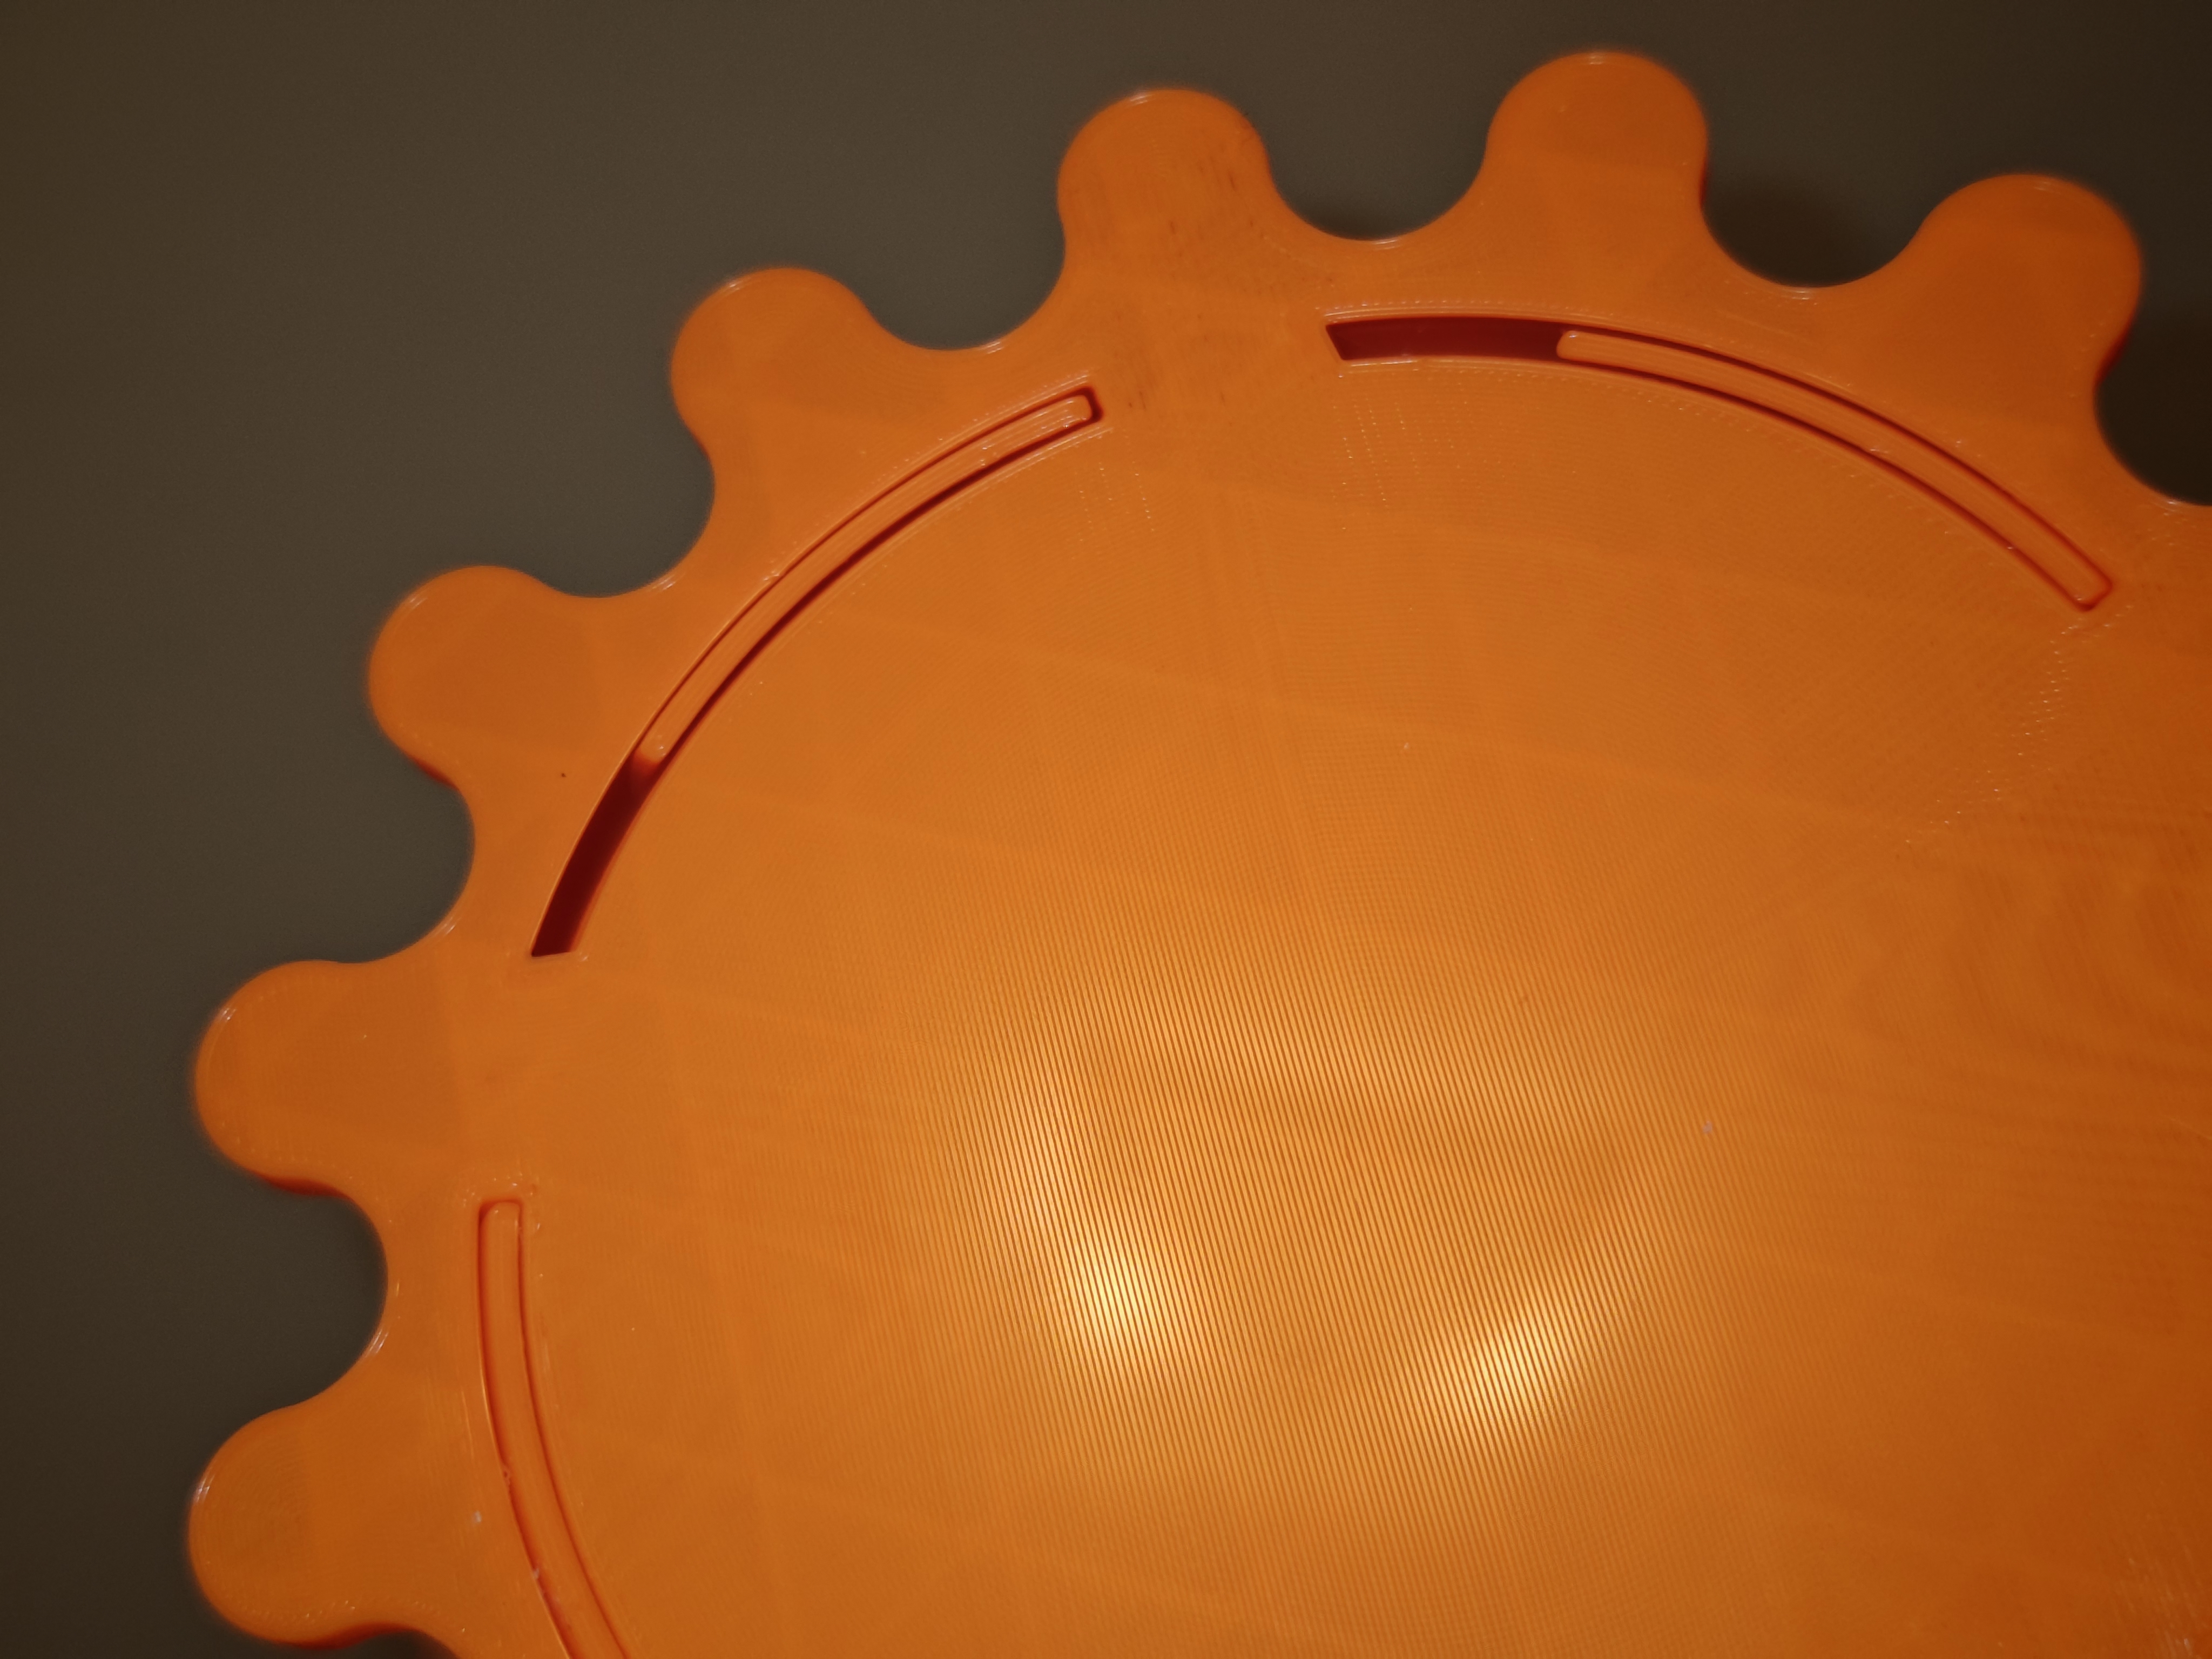
I’m actually not afraid of printing things larger than a few square inches on the bed… Waited way too long for this. Tightening up the eccentric screws on the bed carriage so it doesn’t wobble also helps.
I used to print on glass, until I nearly cut a finger off.
Make sure you’re using glass that can either handle the thermal cycling (that is not anything you can find at a Home Depot), or is tempered so it won’t have giant sharp shards when it does finally break due to the heating -> cooling -> heating -> cooling cycles of 3d printing.
Mine did that in my hands, and the shards it broke into were sharp enough to cut down to the bone on two of my fingers, requiring a hospital trip.
…I use textured PEI now, which probably won’t try to remove any digits.
@bdonvr you’ve probably heard this before… But magnetic PEI build plate is the best adhesion I’ve had.
Used glass on my CR10S but it’s night and day vs PEI on the ender 3 S1 plus.
Keeping it clean is key but copious quantity of IPA and a very light sand has worked so far.That’s what I was using before, but my problem is my bed is fairly significantly warped… Inflexible glass fixes this entirely and I’ve had absolutely no issues with adhesion. At least not with PLA or TPU.
Although thinking about it I could clip the PEI to the glass giving it a flat bed…
I’ve been using a 1/4" thick sheet of carbon fiber for years now. Once warmed up to temp prints stick hard on it. As soon as it’s cool a breeze can push a print of the bed. Plus it won’t shatter like glass does eventually, boy was that a surprise. You still have to wipe clean with some rubbing alcohol before printing.
Although thinking about it I could clip the PEI to the glass giving it a flat bed…
Having had a similar issue, actual bed more warped than a TV preacher, and a dead, impossible to replace leveling sensor. I moved to a glass bed. But, now that you mention it, this seems like a great way to get then PEI adhesion and have the bed actually level. Just ordered some larger clips and I’m gonna try this out.
I bought the carborundum glass bed for my S1 Pro, it’s replaced my PEI bed entirely and see no reason to go back.
Mine came with carborundum glass and I got a PEI and like it way better.
I swapped to glass a few years ago and the things I have learned since are that glass that’s too thick will cause you issues with bed temperature, and you can print PETG on it so long as you can guarantee you’ll be there when the print finishes to release it with IPA or you’ll have chunks of glass missing from your build plate. I got a G10 build plate 2 days ago and sofar I’m liking it more than glass
A thin layer of glue stick kept petg from bonding to glass for me, but a nice thick layer of G10 is better as long as you heat soak it before printing. I roughed mine up with some sandpaper and haven’t had any issues. Just remember good ppe when working with fiberglass.
I had to preheat for 20 minutes when I was using a glass bed. Took ages but the results were so smooth.
When I went to glass it took me an embarrassingly long time to realize I needed to up my bed temp by 10° if I wanted good adhesion
That looks great. How did get such good adhesion? My bed is super uneven so I switched to glass and had incredible results, but I have to babysit the first few layers because 50% of the prints are wrapped around the nozzle by the end.
Cleaning the print surface with warm water and soap, and then avoiding touching it with your hands, is a good start if you haven’t done so alreayd. Calibrating first layer height, flow rate, temperatures, etc. is generally the way, but if you want a quick and easy solution I gotta say that Magigoo has worked really well for me. It’s a bit expensive, but I’ve reapplied it a few times and never have to wash the bed so that one bottle will likely last a lifetime. I think you can get similar results with a high PVA content glue stick or hair spray. And there are of course other 3d print glues which I haven’t tried, I’m assuming they work equally well.
I dunno, I use a mirror tile heated to 60⁰C. TPU and PLA seem to stick just fine. Have you tuned your first layer height?
I also give it a good scrub with isopropyl between prints.
you can get official glass beds
https://www.amazon.com/Creality-Ender-Glass-Upgraded-235x235x4mm/dp/B07RD6D2ZQ
Looks like nice even pressure, good job! It looks like you’re underextruding a bit though
Stop buying enders they’re complete shit.
The cheapest printer is the one you already own.
Thanks I’ll warp back a few years and tell myself that.
You can have my ender 3 when you pry it from my cold dead hands.


